Simple Scanning Guide
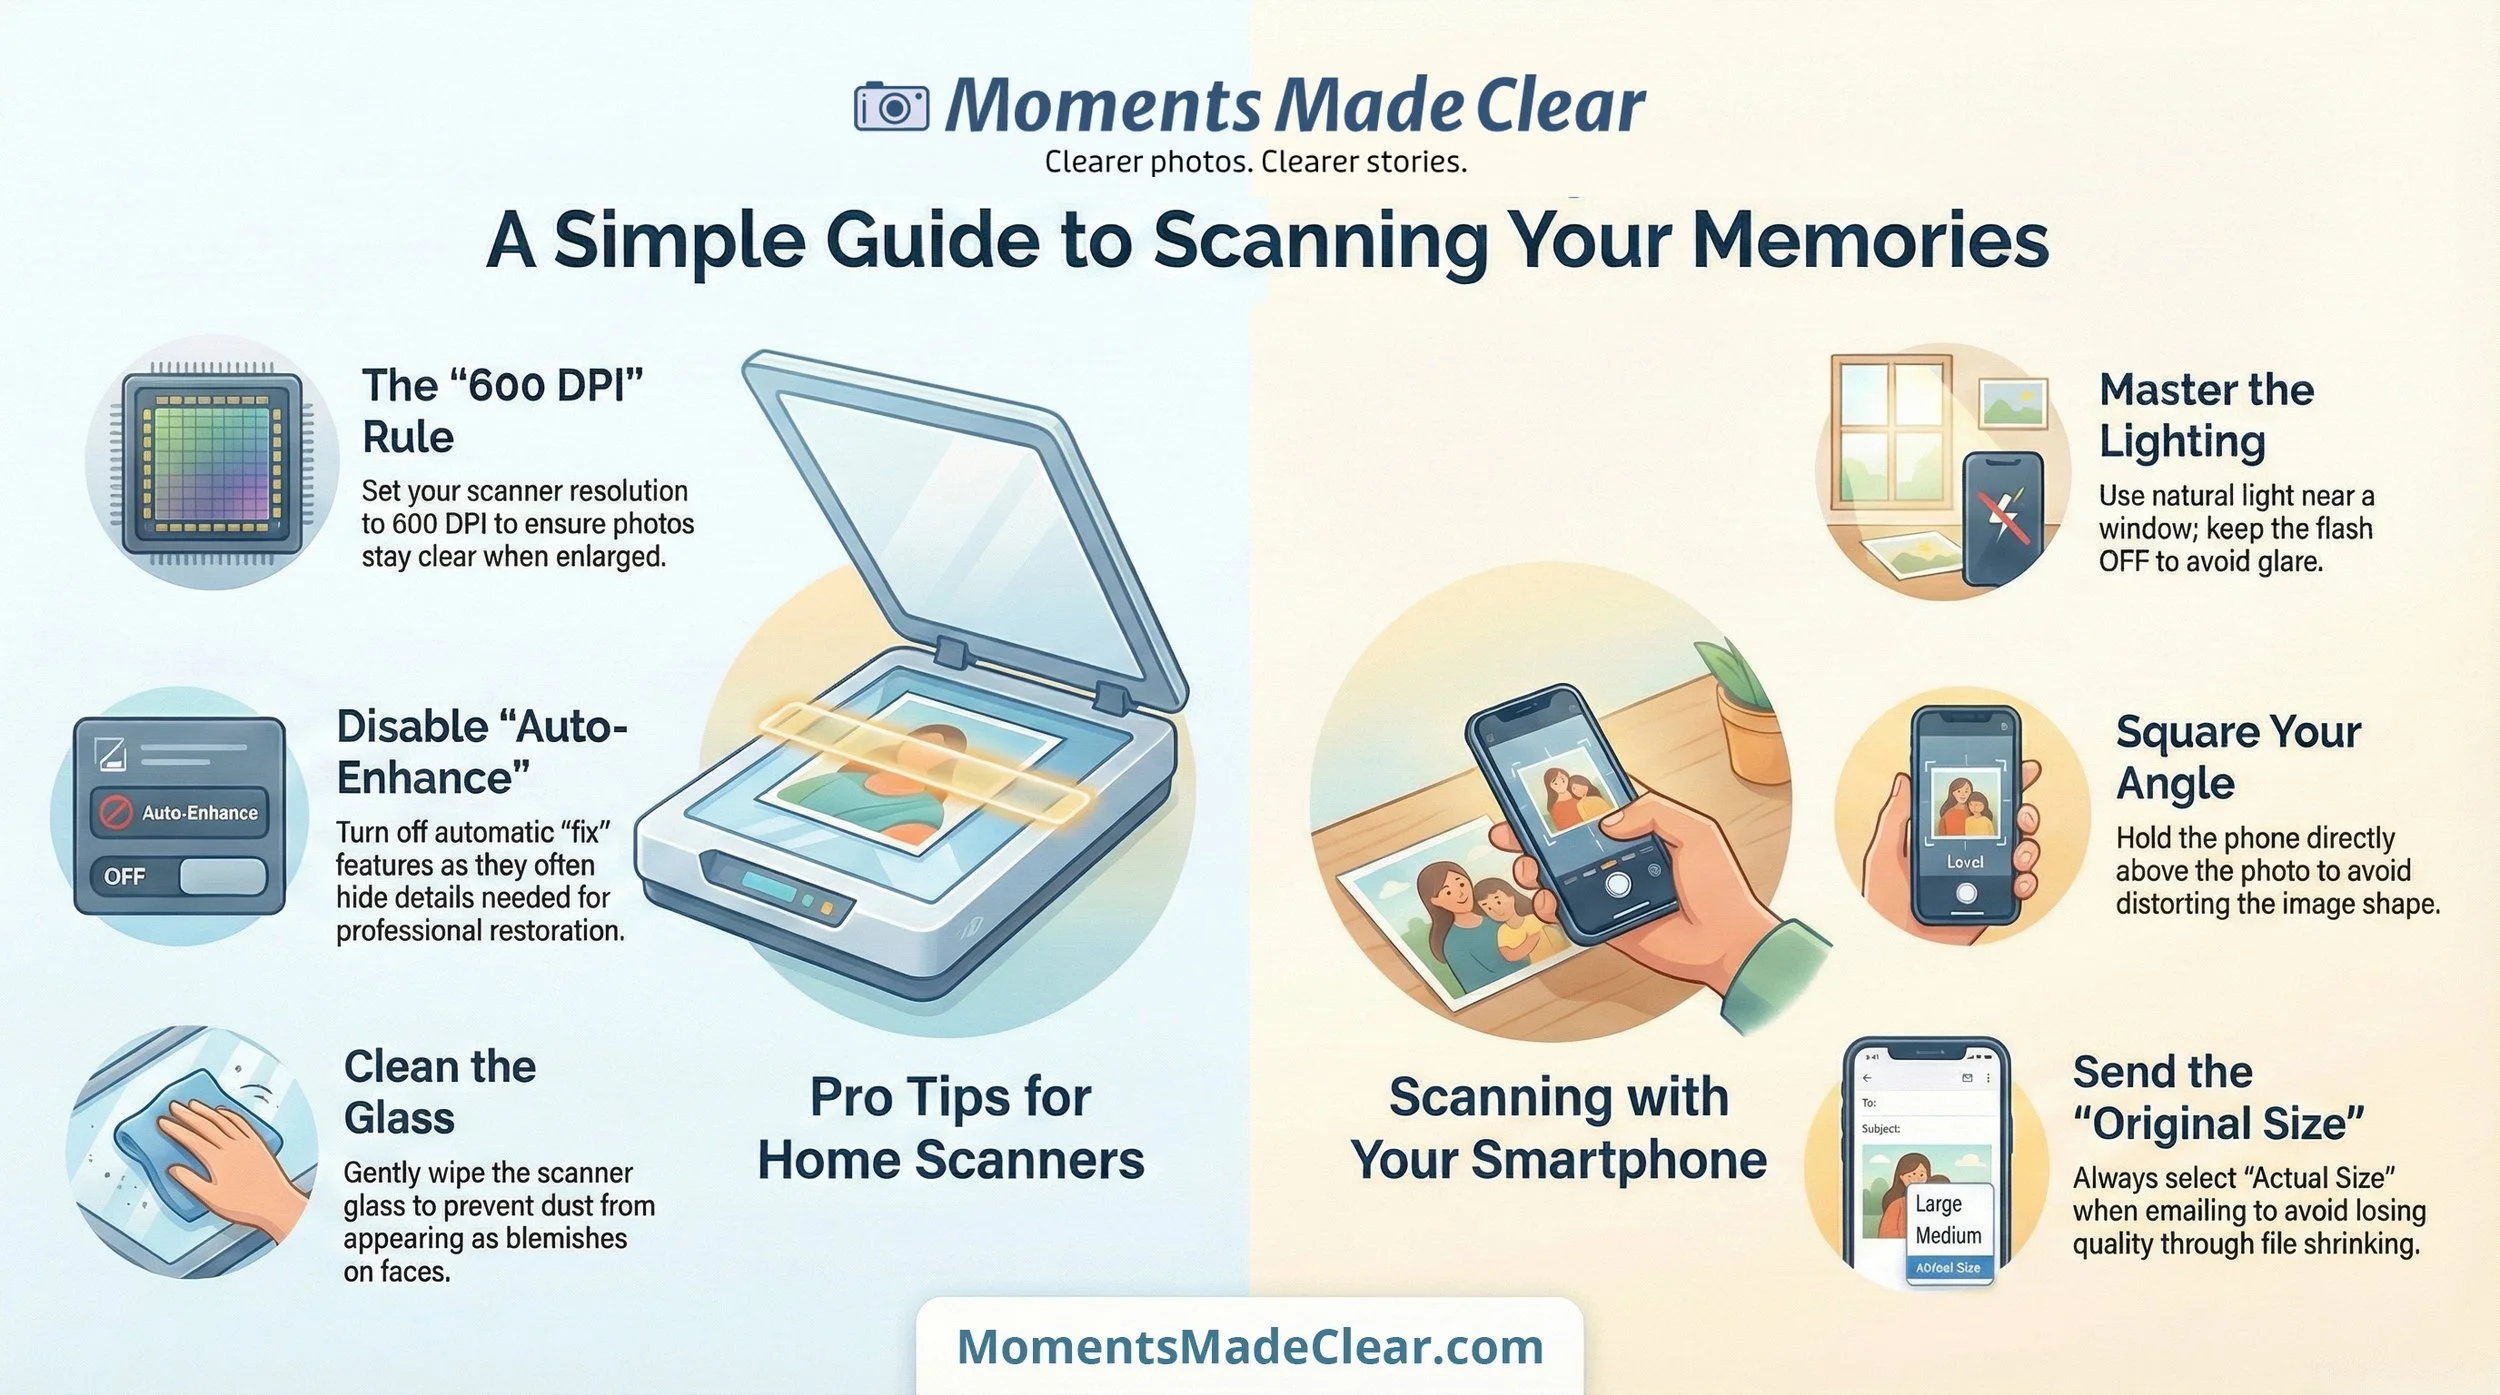
The “600 DPI” Rule: When you open your scanner settings, look for “Resolution” or “DPI.” Set it to 600. This ensures your photo stays clear even if we need to print it at a larger size.
Disable “Auto-Enhance”: Many scanners try to “fix” the photo automatically. Please turn these features off; they often hide the very details we need to restore.
Glass & Dust: Wipe your scanner glass gently before you start. A tiny speck of dust on the glass can look like a major blemish on a person’s face once the photo is enlarged.
No Scanner? Use Your Phone: If you don't have a scanner, you can take a photo of the photo.
Lighting: Place the photo near a window for natural, even light, but avoid direct sunlight or “hot spots” from lamps.
Angle: Hold the phone directly above the photo—not at an angle—to avoid distorting the shape of the image.
Flash: Keep your flash OFF to prevent glare and reflections.
Sending the File: When emailing or uploading, always choose the “Original Size” or “Actual Size.” Sending a “Small” or “Medium” version shrinks the file and loses the quality we need to work our magic.
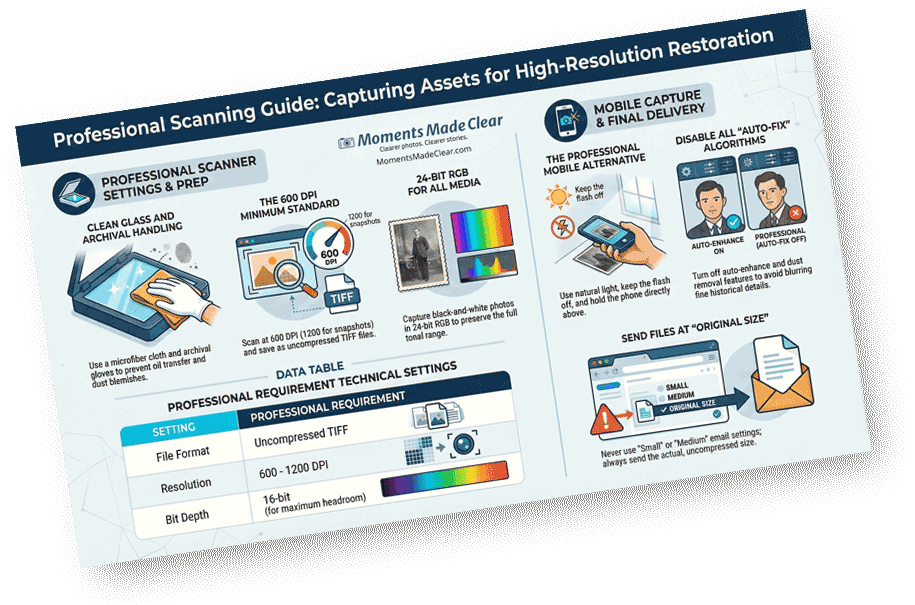
Media & Heritage Scanning Guide
A technical reference for archivists and professionals. This guide outlines specifications for high-fidelity assets, including archival handling protocols, uncompressed TIFF formats, and bit-depth requirements for maximum editing headroom.